Thanks for visiting my blog!

Url: http://www.microsoft.com/windows/virtual-pc/dow…
Now that Windows 7 has gone RTM (and I am anxiously awaiting it to appear on MSDN downloads), I am getting excited about the new operating system. I was chatting with Chris Sells today and I tried to explain what and how the XP Mode stuff worked and why I loved it so much, but to no avail. So I figured it was up to me to write a blog explaining it and why its so awesome.
First of all, the term “XP Mode” is entirely the wrong name. I understand what Microsoft is trying to do and lessen the fear of people who have apps that work on XP but maybe not as well on Windows 7, but XP Mode is something entirely different.
The real star of the show is “Windows Virtual PC”. Now I know you think you’ve been using this, but this (another unfortunate named product) is a repackaged Virtual PC that is very integrated into the OS. The real trick is that if you install an application inside of a Virtual Machine (running XP, Vista or Win 7), you can launch it in the host OS like a normal application. The registry and drives are virtualized so when you save options/files they are saved on the host PC. For example I can launch Firefox like a desktop application:
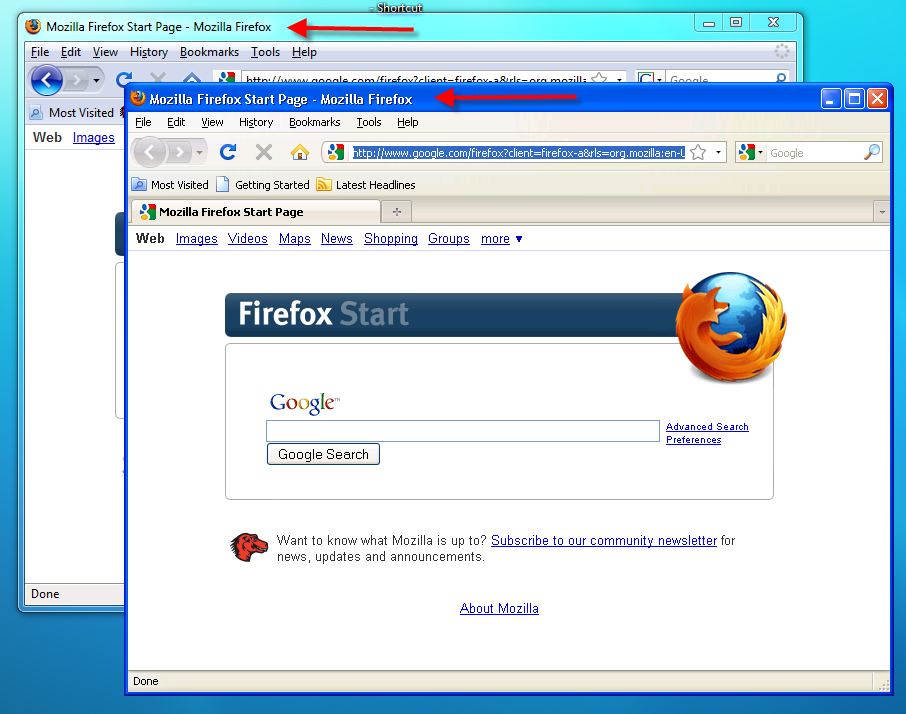
Notice the window chrome is from the Windows XP virtual machine. it is running the virtual machine and remoting the application to the host. The startup time is a bit slower than a desktop application, but this way you can work on your normal machine with virtualized applications that are separate from your operation system. I use this to protect my main machine from the myriad beta and CTP’s I am running at the moment.
Walkthrough
The first step is to get Windows Virtual PC and the XP Mode installers. Go visit:
http://www.microsoft.com/windows/virtual-pc/download.aspx
Near the bottom of the page, you’ll find a selector for your host OS type (32 or 64 bit) and your language. Once selected, you can download both the Windows Virtual PC package and the XP Mode package:

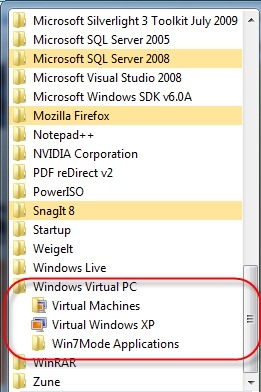
Once both packages are downloaded, install the Windows Virtual PC package first. Once installed, you can see that in the Start Menu that there is a new section for the Windows Virtual PC:
Select the “Virtual Machines” selection and note that it takes you to a special directory for the list of virtual machines:
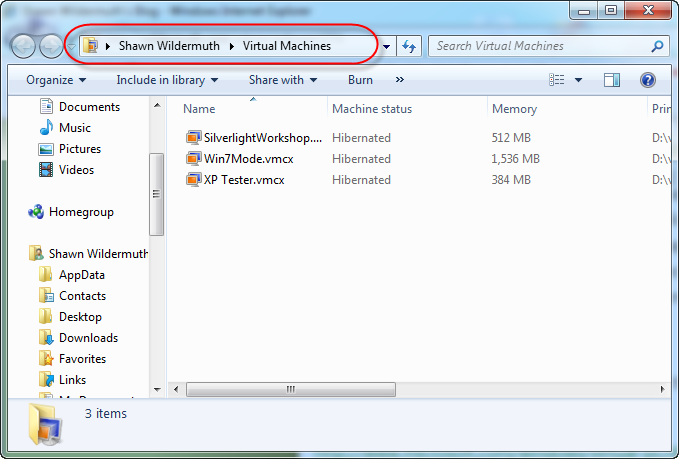
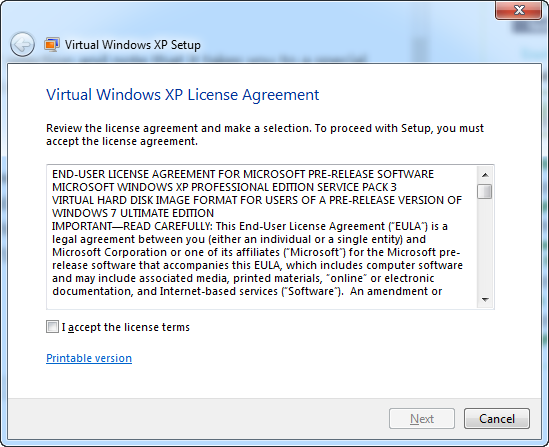
From here you can create new images as you like, but to get started, install the XP Mode package instead. Once you install it, this machine will be available in your Start Menu folder as “Virtual Windows XP”. Picking this will launch a clean copy of XP SP3. First you will be prompted with the License agreement:
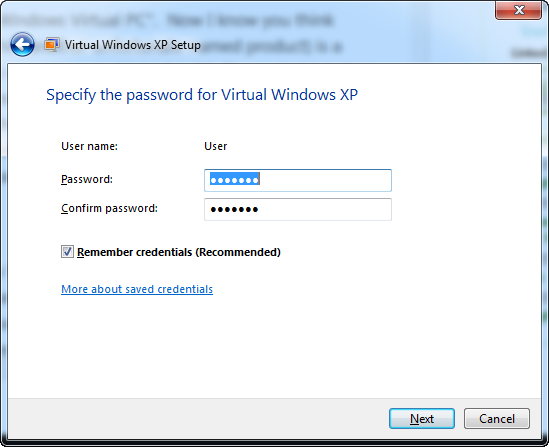
Once you approve the license, you will be prompted with providing a password to a new user inside the XP Mode machine. You can click the “Remember credentials” so that you don’t have to log into the machine later:
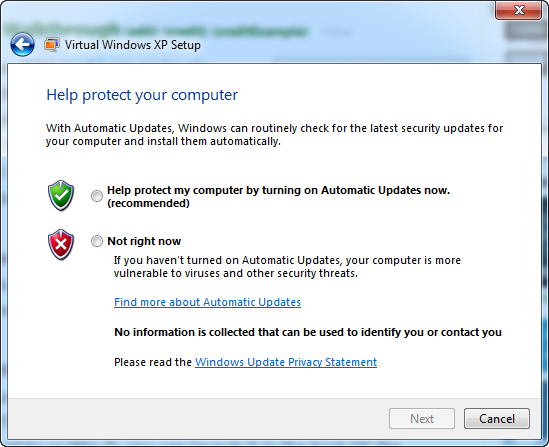
Continuing to setup the machine, it next asks you whether to use automatic updates. Make your selection and continue:
Finally, it will setup the XP Machine based on your selection. This may take a few minutes. Once it launches it is like any other XP Virtual Machine you’ve used before. But install a piece of software (I am picking Firefox) and something dramatic happens. Once you do the installation(s) you want, close the virtual machine and go back to the Start Menu:
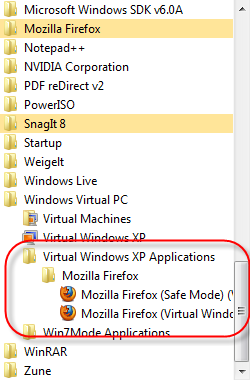
Launching this will show the virtualized application like we did above:
Wrapup
Using the XP Machine that Microsoft provides is perfectly acceptable, but if you want to virtualize applicaitons in Vista (SP1) or Windows 7 as well, you can create machines and use the integration features to get the same behavior. The unfortunate thing is that only those three operation systems are supported and there is no way I know of yet to expose the application that are already on existing virtual machines. Either way, this mis-named feature can really change the way you use virtual machines.
